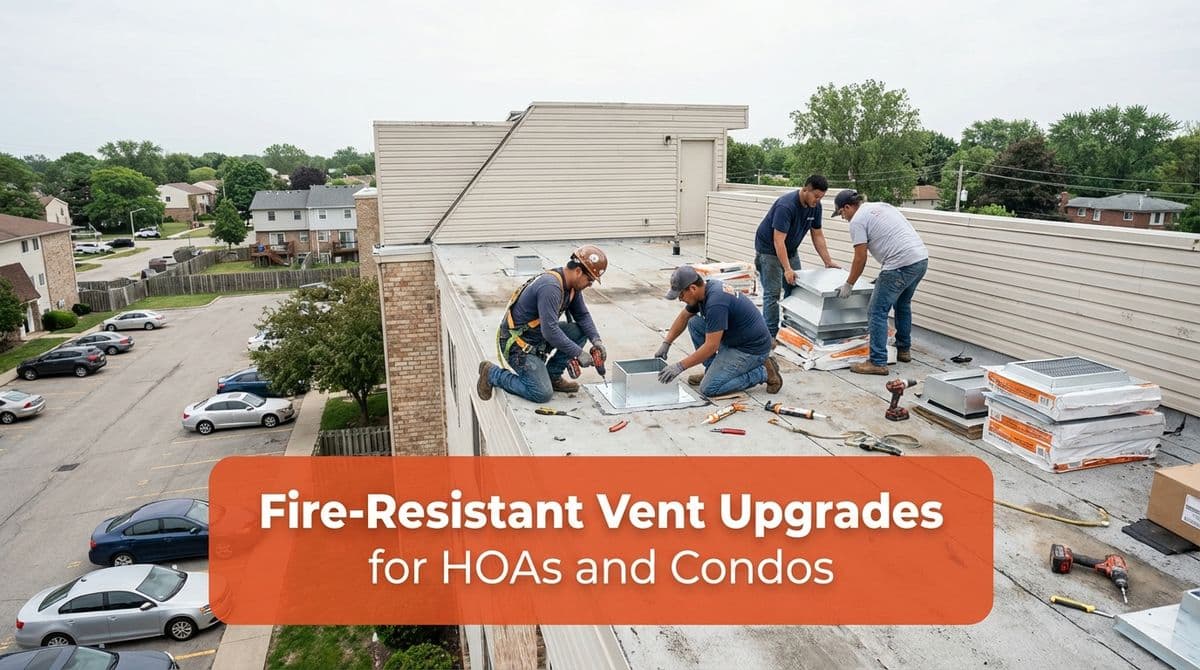
Fire-Resistant Vent Upgrades for HOAs and Condos
Older HOAs and condos can dramatically improve fire resilience by upgrading roof, soffit, and garage vents. Here’s how we assess, plan, and phase these projects.
How an Older Condo Community Got Serious About Fire-Resistant Vents
We recently got a call from a homeowner in an older condo complex — let’s call her Karen. She told us she was working with her HOA board to get bids for updating vent covers and screening to be more fire resistant.
The community was about 50 years old, with 16 four‑unit buildings plus some detached garages. Like a lot of older properties, no one was totally sure what vents were out there, what had been changed by individual owners over the years, or whether the garages even had proper vents. The board wanted to do the right thing for fire safety, but they needed help figuring out what they had and what they should upgrade to.
Calls like Karen’s are becoming more common, especially in wildfire-prone areas and communities with aging buildings. So we thought it would be helpful to walk through how we approach a project like this and what HOAs and condo owners should know about upgrading roof vents and screening for better fire resistance.
Step One: Get a Clear Picture of What You Actually Have
On a 40–60 year-old property, the original plans rarely match today’s reality. Units are remodeled, vents are added or removed, screens get replaced with whatever the last contractor had on the truck. That’s why the first thing we do on an HOA or condo project is a vent inventory.
During our initial walk-through, we typically:
- Walk every building and garage roof to list all visible vent types and locations
- Note any obvious homeowner modifications (painted-over vents, non-standard caps, missing screens)
- Check for hidden or unusual venting, like through-wall vents near eaves or older turbine-style vents
- Photograph representative conditions so the board can see what we’re seeing
For detached garages and utility rooms, we also look for:
- Unvented spaces that might trap heat or smoke in a fire
- Old louvers or gable vents with wide, non-fire-resistant screens
- Any venting that could allow embers to enter a common attic or shared space
We then put this into a simple report the board can share: building count, vent count by type, general condition, and priority areas. This makes it much easier for HOAs to compare bids because everyone is talking about the same scope of work.
What “Fire-Resistant” Vent Screening Actually Means
We get a lot of questions like, “Can you just put finer mesh over what we already have?” Sometimes that’s possible, but “fire-resistant” isn’t just about having a small opening — it’s about using the right materials and assemblies.
On most older buildings we look at, vents have:
- Standard insect screen (often plastic or aluminum)
- Openings larger than 1/8 inch, which can allow wind-blown embers in
- Vents located at eaves and ridges where embers naturally accumulate
When we talk about upgrading, we’re usually looking at:
- Ember-resistant vents designed and tested to resist ember intrusion
- Non-combustible screening (typically corrosion-resistant metal)
- Mesh with 1/8-inch openings or smaller, as recommended in many fire-safe building guidelines
Codes, Insurance, and Local Guidelines
Board members often ask, “What exactly are we required to do?” The answer depends on your jurisdiction, age of the buildings, and whether this is considered a repair, an alteration, or a major renovation. While we never play the role of the building department, we regularly help HOAs:
- Compare existing vents to current model code recommendations for ember resistance
- Understand when a simple like-for-like replacement is allowed versus when an upgrade is strongly encouraged
- Gather the documentation (cut sheets, test data) needed if the city or fire marshal asks for it
- Provide photos and product details that insurance carriers often request when they offer wildfire-mitigation discounts
The bottom line: we help translate the technical language so boards can make informed decisions and show that they are acting responsibly, even if full code compliance isn’t legally required for an older building.
Different Building Types, Different Vent Challenges
In Karen’s community, each building had four units sharing a common roof and attic space. That’s a pretty typical garden-style condo layout, and it raises some important questions:
- Do all units share one continuous attic, or are there firewalls?
- Are bathroom and kitchen fans vented through the roof, walls, or soffits?
- Do detached garages connect to living spaces through attics or framing?
We look at these details because a fire or ember entry in one part of a shared attic can spread quickly if there aren’t proper barriers and fire-resistant vents.
Low-Rise vs. Mid-Rise and Mixed-Use Buildings
For low-rise condos and townhomes (one to three stories), access is straightforward and most vents are at the roof, gable, or eave. Mid-rise or mixed-use buildings add some extra complexity:
- Roof access is often through interior stairwells or mechanical rooms, which means coordinating with property managers for keys and elevator use.
- There may be multiple mechanical systems (boilers, make-up air units, elevator penthouses) with specialized vents that need fire-aware solutions, not just screening.
- Some vents serve commercial spaces on the ground floor and residences above; we need to be sure any changes don’t impact ventilation requirements or equipment warranties.
In these buildings, we usually schedule work in phases and coordinate with interior unit owners for any spots where we need to confirm vent terminations or check for hidden penetrations above top-floor ceilings. Clear communication ahead of time keeps access smooth and residents calm.
Roof Vents, Soffit Vents, and Garage Vents: What We Typically Recommend
Once we understand the existing setup, we sit down with the board to prioritize. We usually look at three main vent areas in older condo and HOA communities:
1. Roof and Ridge Vents
These are often the highest risk in a wind-driven fire because embers rise and collect along ridges. We may recommend:
- Replacing aging roof vents with ember-resistant models
- Upgrading ridge vents to products tested for high heat and ember exposure
- Ensuring proper attic ventilation is maintained so you don’t trade fire concerns for moisture problems
2. Soffit and Eave Vents
Soffits and eaves are ember “catch basins” during wildfires. On older buildings, we often find:
- Large louvered openings with basic insect screen
- Damaged or missing screening from past pest problems or painting
We typically suggest:
- Upgrading to metal, ember-resistant soffit vents where possible
- Adding compliant mesh behind decorative eave openings
- Sealing any unnecessary penetrations while preserving overall ventilation
3. Detached Garage and Utility Vents
Detached garages in Karen’s community were a big unknown, and that’s common. We look for:
- Old gable vents or wall louvers with wide openings
- Gaps at roof-to-wall connections where embers could get in
From there, we design a simple upgrade package — often replacing or retrofitting vents with fire-conscious options that still let garages breathe and avoid moisture build-up.
Planning an HOA-Wide Vent Upgrade Without Chaos
One of the board’s biggest worries in Karen’s community was logistics: “How do we do this across 16 buildings without driving everyone crazy?” We’ve learned that clear planning and communication make all the difference.
Step-by-Step Planning Tips for Boards
When we work with HOAs and condo boards, we usually recommend:
- Create a simple project summary – 1–2 pages describing what’s being upgraded, why it matters for fire safety, and the expected benefits for owners.
- Phase the work – Group buildings into phases (for example, four at a time) so residents know when to expect roof activity.
- Set clear work hours – Establish and communicate standard working hours to reduce noise complaints.
- Coordinate access – If we need attic access from inside units, plan sign-ups and notices at least a week in advance.
We also encourage boards to send:
- A pre-project notice explaining the safety goals and schedule
- A 24–48 hour reminder before work on each building
- A brief completion update summarizing what was done and any next steps
This not only reduces friction during the project, it also shows homeowners the board is investing in long-term resilience of the community.
How to Get Started If Your Buildings Are 40+ Years Old
If your HOA or condo complex is in the same boat as Karen’s — older buildings, uncertain vent conditions, and growing fire concerns — the best first step is a site visit and vent assessment.
During that visit, we can:
- Identify and document existing vent types and conditions
- Flag the highest-risk areas for ember intrusion
- Recommend a prioritized, phased upgrade plan that fits your budget
- Provide clear documentation the board can share with owners, insurers, and local officials
You don’t need to have all the answers before you call us — that’s the whole point of the assessment. Our job is to help you understand what you have, what’s realistic to improve, and how to accomplish it with minimal disruption to your residents.
If your community is ready to look seriously at fire-resistant vents and screening, we’re happy to walk your roofs, look at your garages, and put together a plan tailored to your buildings — just like we did for Karen’s HOA.